How to make a contact sheet in the darkroom

Published
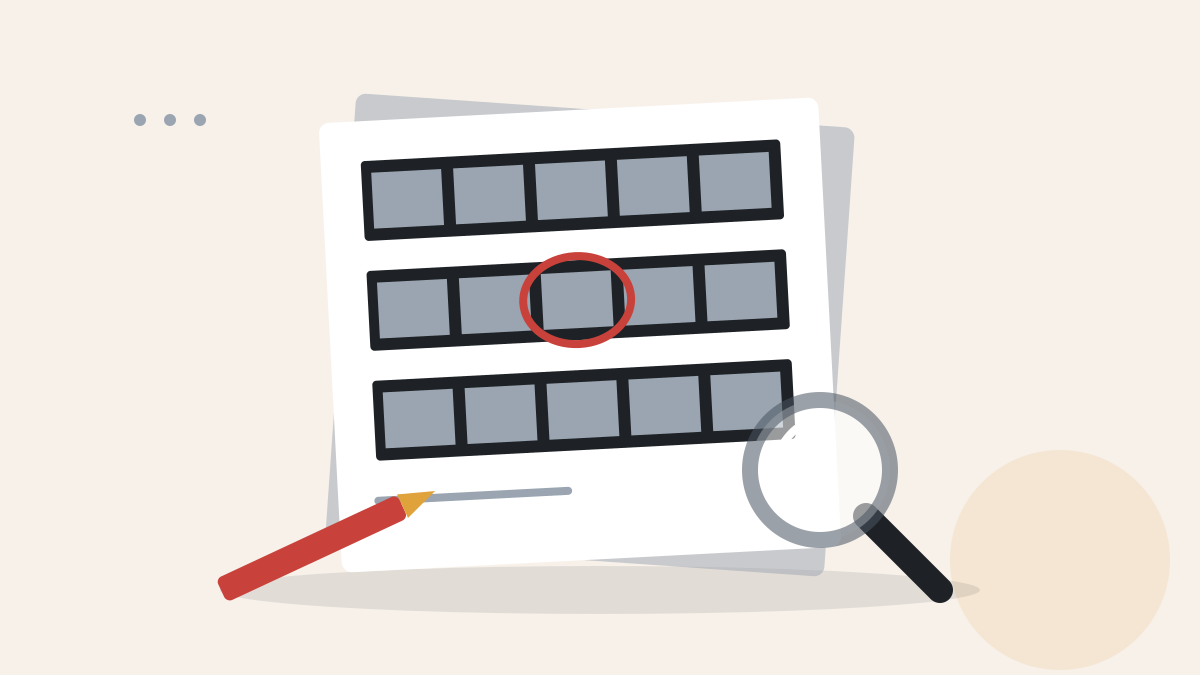
A contact sheet is a print of a whole roll of negatives, laid directly on one sheet of photographic paper. Every frame comes out at its real size. It is the quickest way to see what you shot, and the best way to choose which frames are worth enlarging.
Make a contact sheet in six steps #
-
Set up the trays
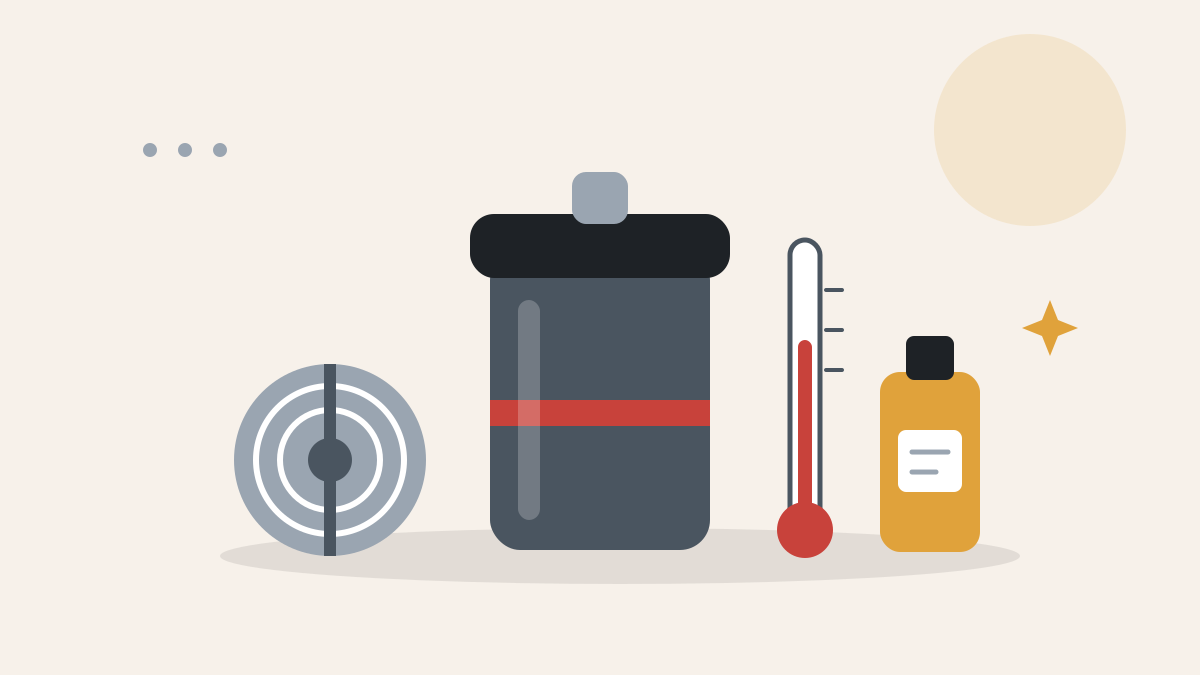
Fill three trays with developer, stop bath and fixer, in that order, and check each is at the temperature on its label.
-
Set the enlarger
Raise the enlarger head until its light covers the whole sheet of paper. Stop the lens down a little for even light.
-
Make a test strip
Under the safelight, lay a strip of paper and the negatives under glass. Cover all but a band, expose, uncover a little more, and repeat.
-
Develop the test strip
Develop, stop and fix it. Pick the band where the clear film edge is just black and the frames show detail.
-
Expose the full sheet
Lay the negatives on a full sheet under the glass, emulsion side down, and expose for the time you picked.
-
Develop, fix and wash
Develop, stop and fix the sheet, then wash it well and hang it to dry.
Choose the frames to print #
Look at the frames with a magnifier. Check focus first, then the light, then the moment. Circle the frames worth printing with a wax pencil, and cross out the near-misses so you do not print them later by accident. The history of the contact print is worth a read, too.
Keep each contact sheet with its negatives #
File each contact sheet with its sleeve of negatives, and write the roll's date and subject on the back. Our guide on how to store negatives shows how.
Members who joined a course will find the full printing steps in the printing course handouts. If a roll from a dim evening came out thin and grey, members can read how to push the film next time.
About the author
Founder of Silverline Darkroom
Experience Printer who has developed and printed black-and-white film for most of her working life
Joan started Silverline Darkroom so that people without a spare room could still print their own photographs. She runs the printing courses and writes the guides on printing and on looking after negatives.